10 chignon hairstyles you will do badly
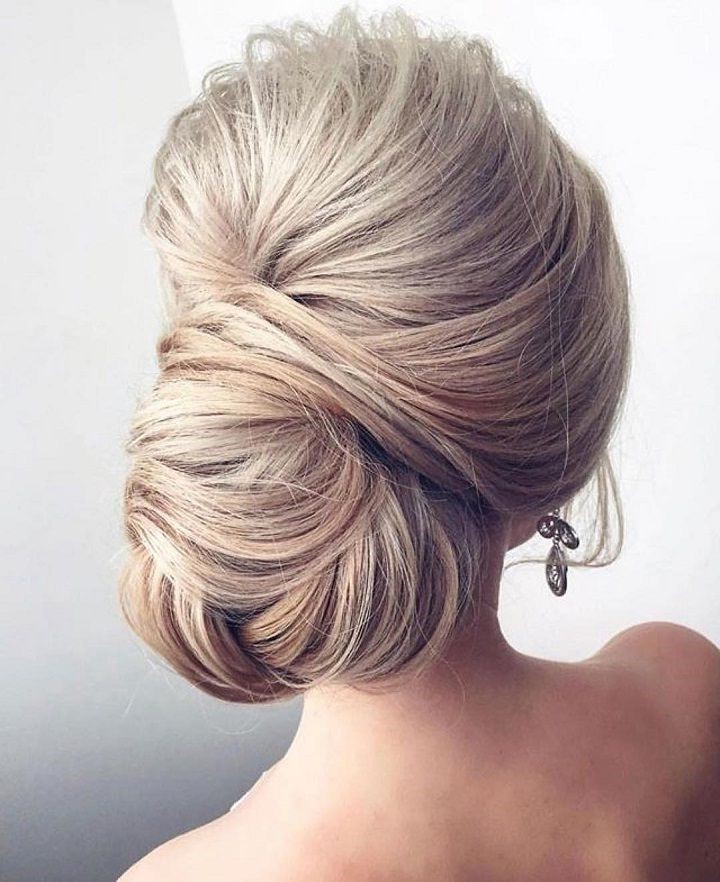
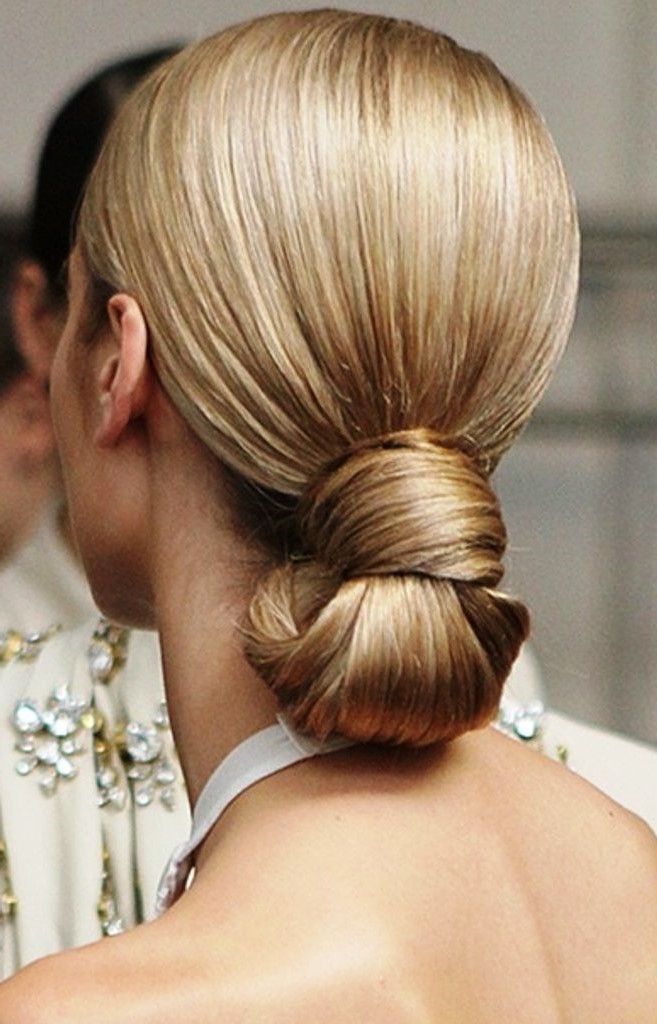
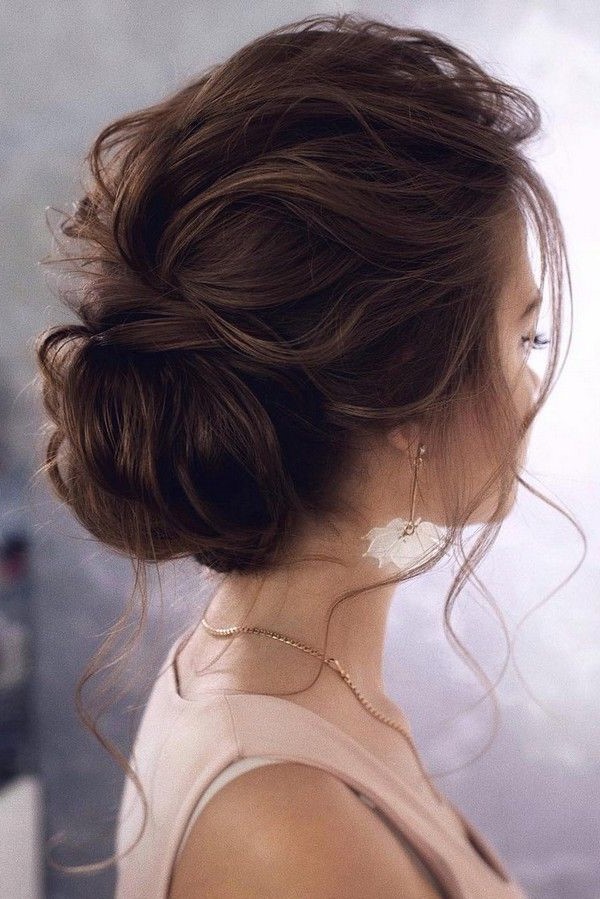
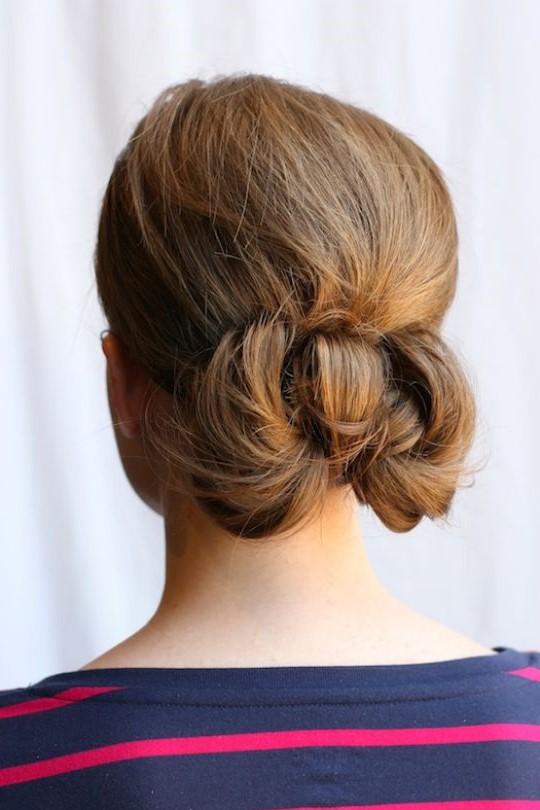
A bun is a bit like a bun, but not exactly. It is a knot of hair arranged at the back of a woman's head, but instead of being stacked on the top, it is at the back of the head and especially on the neck of the neck. This low thing is a good way to classify your daily bun. You can bring it to a dinner, a formal dance or a wedding.

Bun (what does it mean?)
Achignon is a bit like a bun, but not exactly. It's a bottle knot at the back of a woman's head, but instead of being high piledon, he is at the back of the head and especially to the neck on the neck. This weak is a good way to classify your daily life. You can bring it to a dinner, a formal dance or a wedding.
How to make a bunny hairstyle
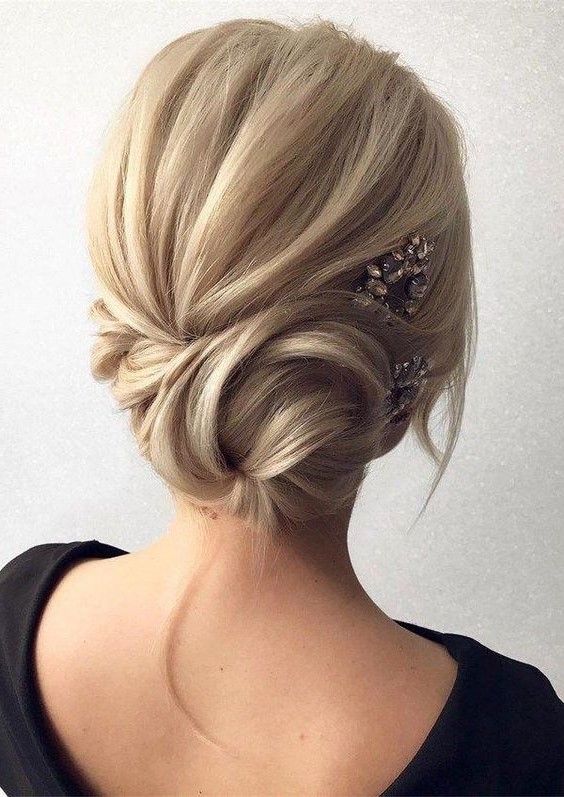
This node can be done in many variants and can be worn on the side for an even more elegant look.
A basic bun is accomplished in a few steps, but you need two large bobby pins, four small and a tailbird comb,
- Use the comb to separate your hair in the middle, smooth it behind the ears and pick it up on the neck of the neck.
- Now, twisted your hair from the neck of your neck at the ends, starting to coil it counterclockwise.
- Continue to twist your brioche-shaped hair with this circular movement, using your index to maintain the shape in place.
- Place a big bobby spindle on each side of the bread to fix it, draw carefully and loosen the edges to get the desired shape. Then attach this shape around the bread using the small bobby pins.
- Use your tail comb to form and volumize by sliding the end of the comb through the hair and pulling very slightly outward.
- Finish with a pure finishing sprayer to adjust the entire style
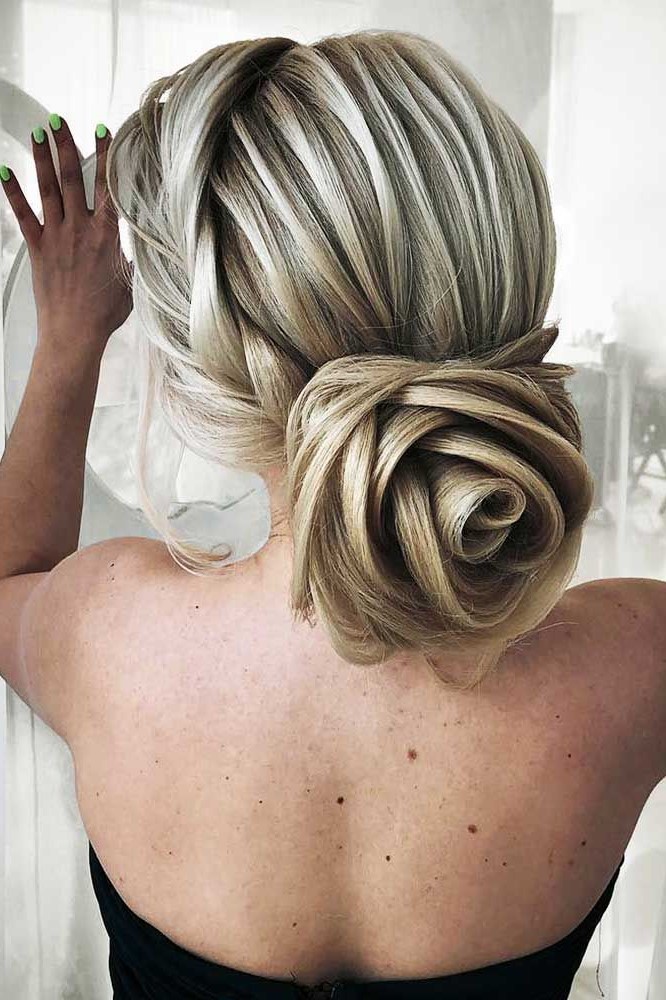
Here are some other popular and elegant bunny rolls that you can accomplish easily thanks to our step-by-step guidance.
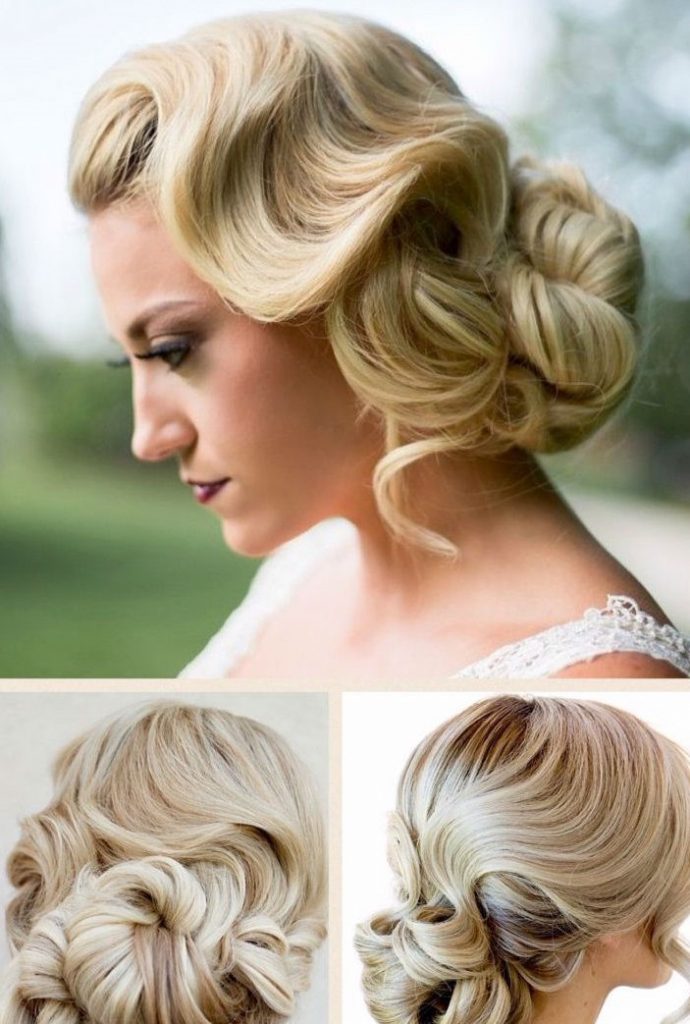
1. Wee elegant bun
This look is dramatic, tight and has a low lateral part. Apply the conditioner to dry the hair instead of gel, which can be crunchy. Create a lateral part that comes with the middle of your eyes. Then smoothing the sides and make your hair in a low horse tail with the help of a brush. Finish it with an elastic band, leaving a 1/4 inch hair section. Turn the main room in a shape of Figure 8 and the bobby pin to secure, finally rolling the spare part around the base of your ponytail.
2. SIDE SOUND SOUND
This lookwavy just need a curling iron to give it this news, Hollywoodlook. From the fringe, gather hair in a lateral pony. Hold a curlingiron vertically to add rolling to the ponytail. Then soften the curlswith a brush and slightly tease the hair to slightly add volume. NowCreate a loose bread and turn it around your elastic hair, fixing the ends with pins. As your last step, hold your curling iron at an angle of 45degree, wrapping a bangs to create a spiral. Fingersto user loosen them in waves.
3. Vintage bun
This kook has volume to the crown and a bun that is hidden under, giving it an old school. The key is a high quality brush and bobby pines. First, Father the upper part of your hair (from your hair to the crown) and teases it with a boar bristles. Then, smooth the top layer with the brush and pull the hair into a ponytail, so it initializes at the eye level. Now, gather the rest of your hair into a second ponytail located under the first, finally combining both and tease the layer below. Roll the tail tail on the neck of your neck, crosses the bobby pins to secure and adjust with hairstyles to maintain the volume.
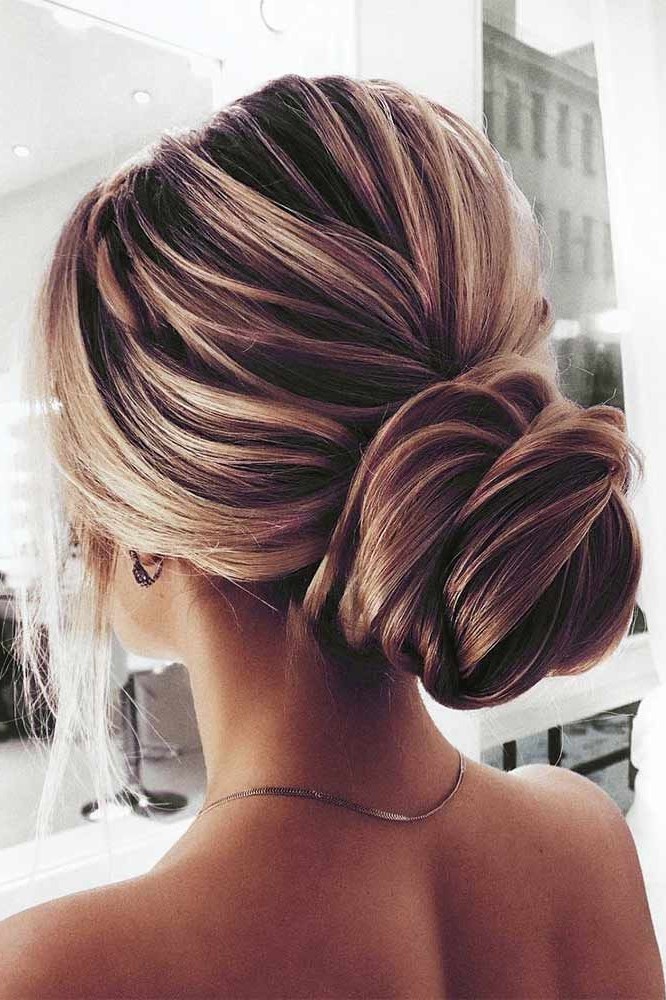
4. Textured bun
This aspect combines an elegant front and lateral appearance with an elegantly textured bun. Pull the hair into a ponytail at the crown of the head, sprayed with the sides and front with the horse to create an elegant finish. Then add the texture by spraying your horse tail with dry shampoo. Turn it in a bun and a bobby pin to secure. Then finish with a more dry shampoo dryer, use fingers to create a longer aspect to your desire.
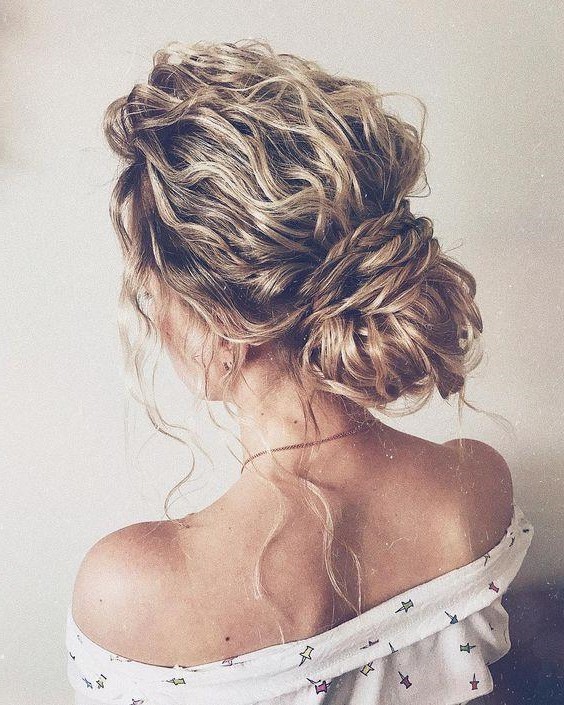
5. Braided bun
The first step involves cutting your bang zone from the ear to the ear, cut it away. Now, gather the rest of your hair in a loose and low pony. Clean this section now and create a central part. After that, turn the hair on each side of the room and gather it in one pony tail that rests on the first ponytail. Combine the hair from the two horse tails to create some braids, possibly to mourn the braids into a single bread. Pin for securing and expanding braids with fingers, finally pinching them together to avoid gaps. Then, remove tendrils and sail.
6. Roepled bewed bun
First, vaporize wet hair with sea salt or wave spray. Then twist the random section into nodes, each staring with a metal duck clip. Now, dry your hair and unravel them after a few minutes. Once you have your waves, the section of the bang area and others in a loose bread entered the back of your head. Secure with bobby pins. Now teasing the bang section at the root, using your fingers to add them seamlessly in the rest of your hair.
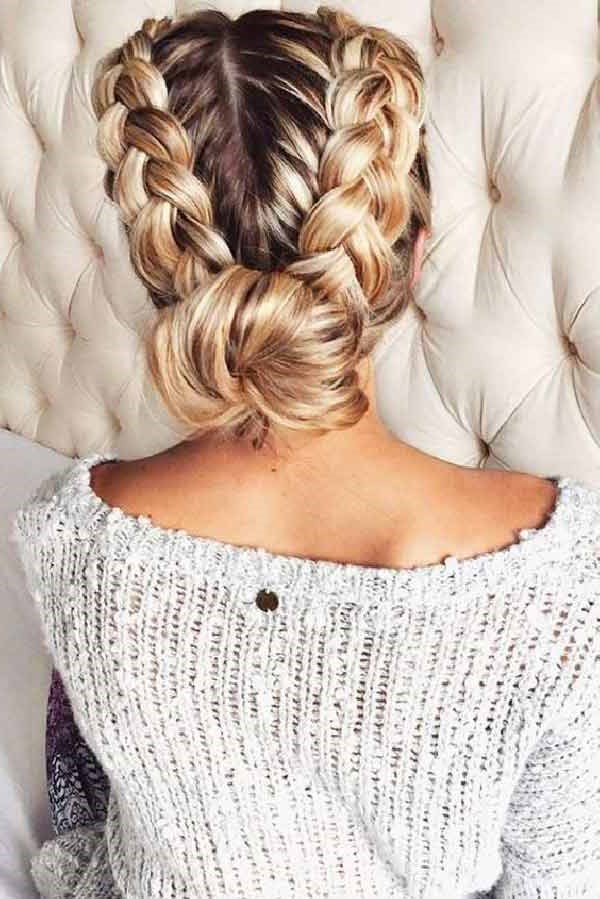
7. Dutch Braid Bouignon
It is a messy bun that is Jazzé with a thick braid. Make a traditional bun bun, leaving a section to make a thick Dutch braid. Wrap it around the side of your head, going it into the bread or pacing around the base. Shoot the braid and loosen your bread until you arrive at the messe level you want.
8. Bow Bun Bun
Spritz hair dryer with spray gel or other form of maintaining the shape. Then separate your hair into the center, turn the hair back into a loose roll, fixing with bobby pins. Finish it with a bow on the top - sophisticated or playful, it's your choice! It's the easiest look at our rounding because we do not always have time to devote himself to the ultimate bun.
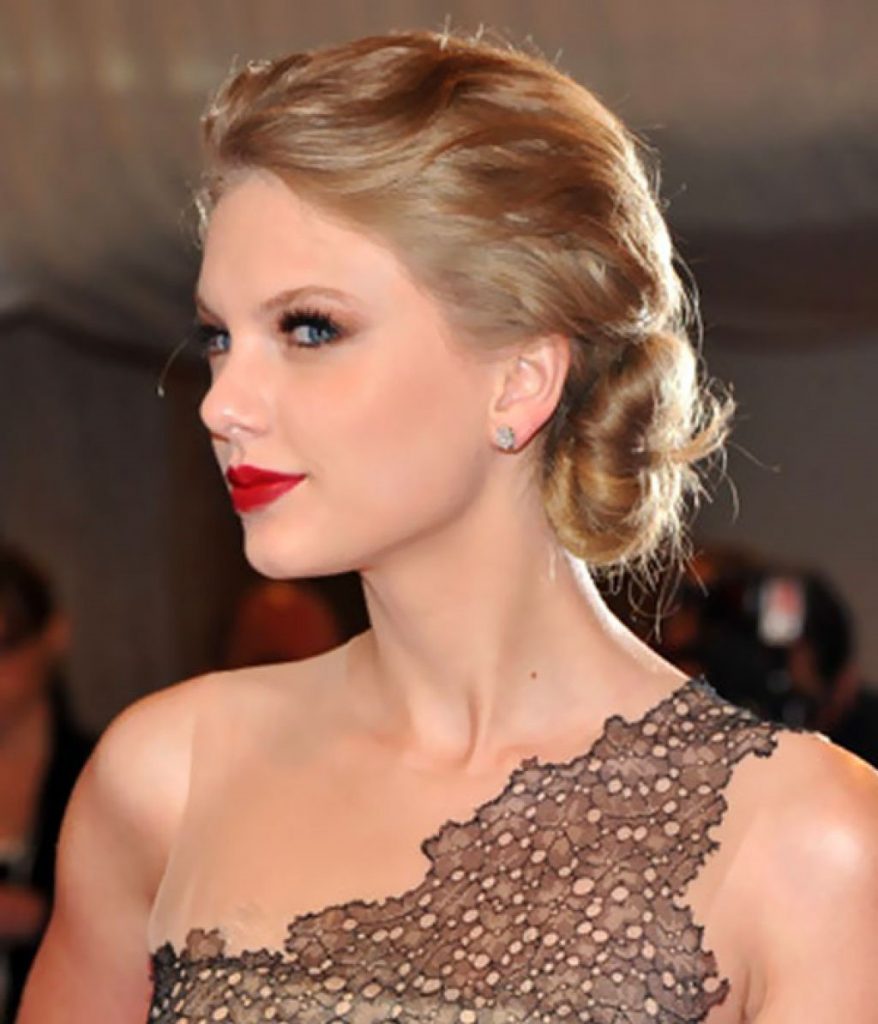
9. Swifty Tourbillon
Named after the Taylor SWIFT look Les Amas 2012, this look can be completed in a few steps. Separate the hair into a top and bottom section, pinning the upper part and brushing the bottom back into a tight ponytail. Take the upper part of the hair roots and spritz with the hairstyle, then tease them to the scalp to create more volume to the crown. Then brush the upper section so that it falls just above the ponytail. Roll all the hair up and under to create the swirling silhouette and pin in place. Complete with hairstyle.
10. False bun
Apply the foam to wet hair, looks dry and sleep. In the morning, put a thin elastic band. Twist Strands at the back of the group, returning to place. The perfect look, without pines that cast a bun with a simple rolling action!
Summer overview of swimsuit for chubby: can disguise shortcomings and you will look sexy with extra kilograms!